You may add or delete an image for the inventory item. This image will be available to display on the Button lookup mode, when processing sales documents (i.e. Invoices, Credit notes, Estimates and Point-of-Sales Invoices) as well as purchase documents (i.e. Purchases, Supplier returns and Orders).
You may add or delete an image for the inventory item. This image will display on the following screens:
•Lookup Inventory items - Button lookup mode, when processing sales documents (i.e. Invoices, Credit notes, Estimates and Point-of-Sales Invoices) as well as purchase documents (i.e. Purchases, Supplier returns and Orders).
|
Groups - Images and Colours The Button lookup may be configured by adding images of your product groups and setting colors (background and font) in the Setup → Groups (Inventory group 1). |
•Inventory item List screen - When selecting or scrolling on the list of inventory items, it will display at the bottom left of the Side bar.
To select an image for a Inventory item:
1.Go to Inventory items and select a Inventory item from the list.
2.Click on the Images tab.
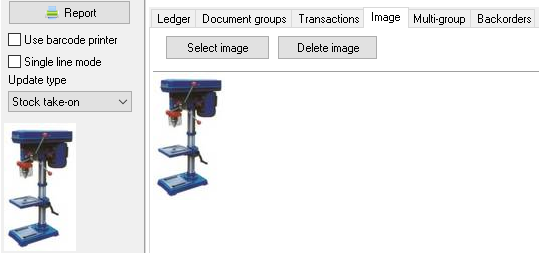
3.Click on the Select Image button. The Open screen is displayed: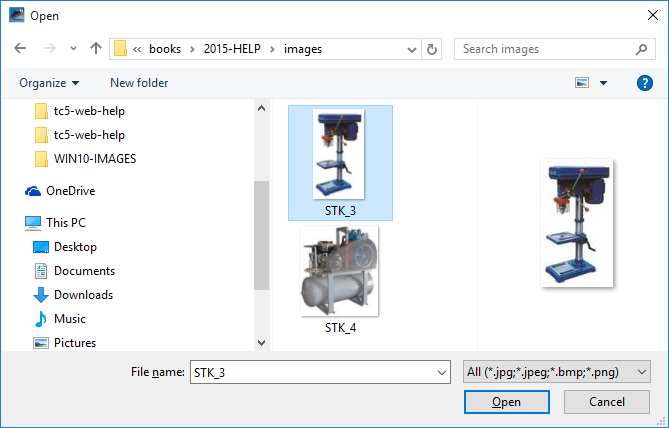
4.Select an image and click on the Open button.
|
Images need to be in the *.jpg, *.jpeg, *.bmp or *.png file formats. |
To enable (activate) the Button lookup:
1.On the Setup ribbon, select Inventory information menu.
2.Select (tick) the “Button lookup” field.
3.Click on the OK button. The Button lookup screen is displayed when selecting inventory items while processing documents.
|
The default size of images is 120px width x 40px height. You may change the size of the buttons in Setup → Tools → Plugins → Point-of-Sale → HorecaPOS. |
|
Groups - Images and colors The Button lookup may be configured by adding images of your product groups and setting colors (background and font) in Setup → Groups (Inventory group 1). |
Created with the Personal Edition of HelpNDoc: Free iPhone documentation generator

